Create an ember material
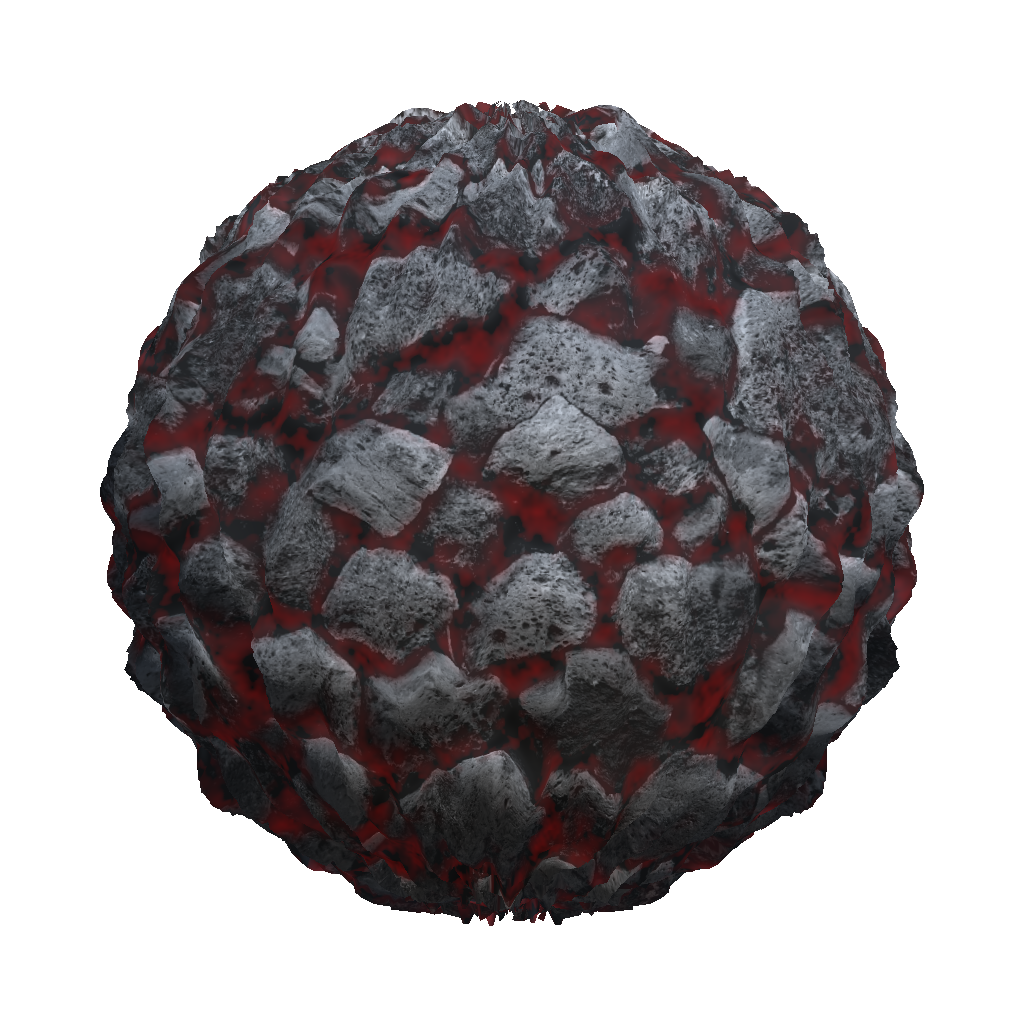
In this tutorial you learn how to make a basic ember material with a DX11 Tessellation shader.
Step 1
Change custom material
- Go to the Custom tab in the preview section.
- Select the Map Lab Tessellation material in the Custom Material slot.

Step 2
Input selection
Open the input selection dialog.

Take an input texture of some messy looking stones and slot it to the input field. In this tutorial we used BrickMessy0005 from cgtextures.com.
Step 3
Setting up the albedo map
- Delete all filters from the default preset.
- Add a Hue Saturation flter.
- Decrease the Saturation and Brightness.

Step 3
Setting up the normal map
The settings for the normal map could basically be left by its default values. You may want to change the Mode of the Diffuse-to-Normal filter in the Large layer to Triangulation to get slightly shaprer bumps.

Step 4
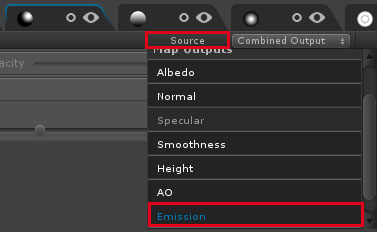
Setting up the emission map
First we have to set up the Emission map as the Metallic map will depend on its output.
- Delete all default layers.
- Set the Source to the raw input image.

- Create three new layers and name them something like Color, Details and Mask.
- Set the layer mode of the first two layers to Multiply.
- Add a Solid Color generator to the top-most layer. This layer defines the color that gets emitted.
- Add a Cloud Noise generator, a Contrast and a Gamma Correction filter to the second layer. This layer adds a variable detail level to the glowing ember.
- Add a Color Mask and a Gaussian Blur filter to the last layer. This layer renders the main mask for emissive parts.
- Hide the first two layers while tweaking the Color Mask. This way, one can see masked parts more clearly.
- Set Mask Color of the Color Mask filter to an average gap color.

- Keep increasing the threshold until you are satisfied with the width of the emissive parts.
- Make all other layers visible again and tweak the values of the filter until the result fits your needs.

Step 5
Setting up the metallic map
- Select the Emission map's output as input Source.
- Right-click the layer to change the input to from Combined Output to Mask.
- Add a Brightness filter to slightly fade out the masked part from the Emission map

Step 6
Setting up the smoothness map
- Delete all default layers.
- Add a Solid Color generator.
- Set the color to black or nearly black as we don't need any non-diffuse reflected light.

Step 7
Setting up the height map
- Delete all default layers.
- Add a new layer.
- Add a Normal-to-Height filter and a Gaussian Blur filter.
- Tweak the properties until you like the results.
